The Ultimate Guide to Shooting Time Lapse Video
The art of shooting time lapse video has mesmerized audiences and filmmakers alike, providing a unique perspective of the passage of time. From stunning sunsets to bustling cityscapes, time lapse videos are increasingly popular across various domains, including real estate, nature photography, and social media. This guide will delve deeply into the techniques, equipment, and tips needed to master the art of shooting time lapse video.
Understanding Time Lapse Video
Before diving into technical aspects, it is essential to understand what time lapse video actually is. A time lapse video is created by taking a series of photos at set intervals to record changes that take place slowly over time. When these images are played at normal speed, they create a captivating effect that condenses time and showcases transformations that might not be noticeable in real time.
Why Use Time Lapse in Your Projects?
Shooting time lapse video offers several advantages in various contexts:
- Showcase Change: Time lapse is perfect for capturing gradual changes, such as the growth of plants or the construction of buildings over time.
- Create Artistic Effects: It can add an artistic flair to your work, making mundane actions appear dramatic and engaging.
- Condense Time: It allows viewers to see hours, days, or even months of footage condensed into a brief video.
- Enhance Storytelling: Time lapse can be a powerful storytelling tool, especially in documentaries and real estate videos, illustrating processes effectively.
Equipment Needed for Shooting Time Lapse Video
To achieve stunning time lapse videos, the right equipment is crucial. Here is a list of the essential tools you'll need:
1. Camera
Your choice of camera plays a significant role in the results you get. Here are options based on your needs:
- DSLR or Mirrorless Cameras: These cameras offer manual settings and high-quality sensors for exceptional output.
- Action Cameras: Compact and durable, action cameras are great for adventure and outdoor shoots.
- Smartphones: Many modern smartphones come equipped with time lapse modes for casual shooting.
2. Tripod
A sturdy tripod is essential for keeping the camera stable during the shooting process. Any movement can ruin a time lapse sequence.
3. Intervalometer
Many cameras have built-in intervalometers, but if yours does not, consider purchasing an external one. An intervalometer allows you to set the time intervals for capturing images effectively.
4. Lenses
Choosing the right lens can enhance your time lapse footage significantly. A wide-angle lens is often preferred for landscape photography, while a zoom lens might be better for capturing distant subjects.
5. External Power Supply
For extended shoots, it’s advisable to have an external power supply or extra batteries to prevent interruptions during shooting.
Techniques for Shooting Time Lapse Video
Shooting a time lapse video involves several techniques that can elevate the quality of your footage. Here are steps and tips to consider:
1. Choose the Right Subject
Some key elements are more suited for time lapse than others. Look for subjects that change gradually but still allow the viewer to notice the transformation. Common subjects include:
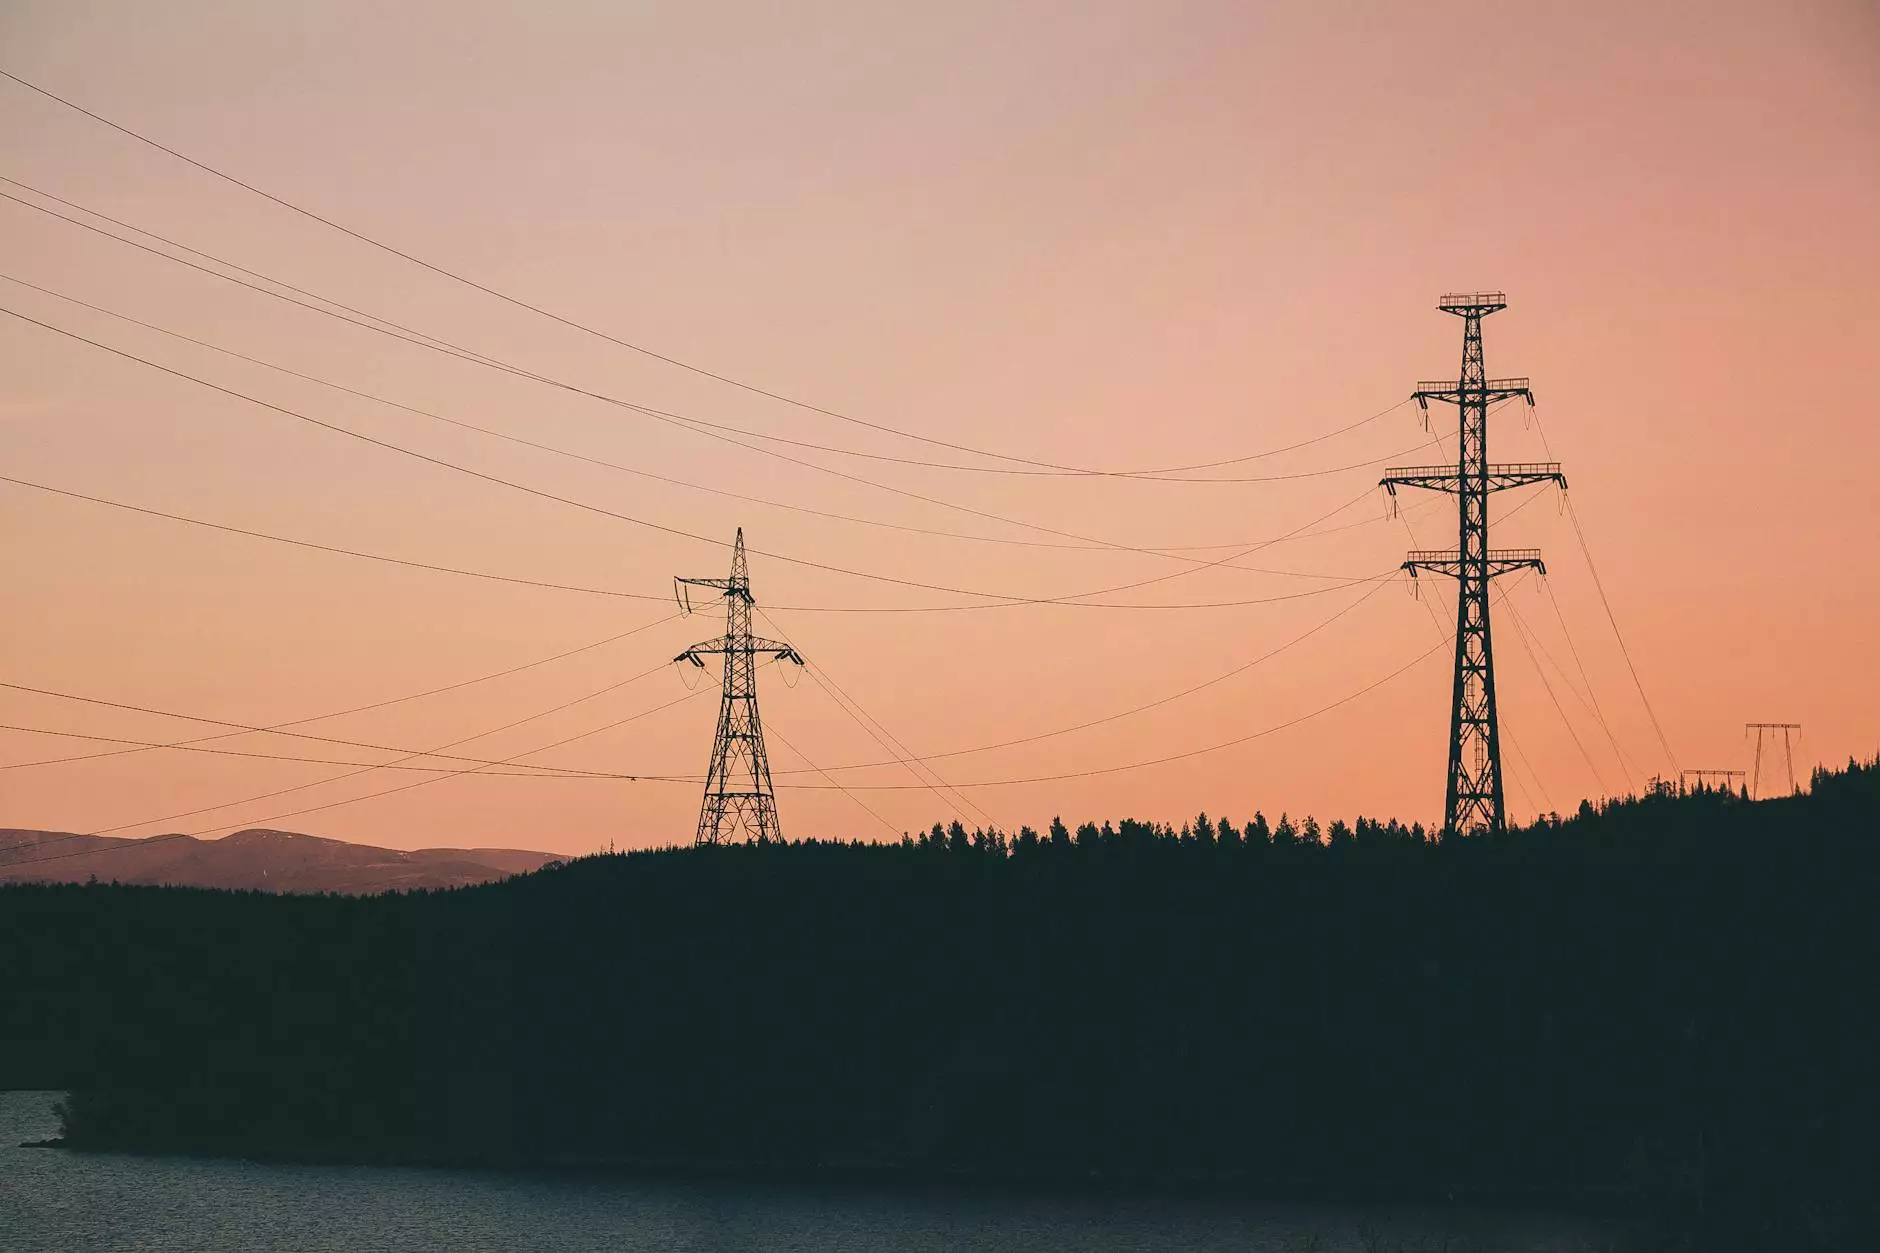
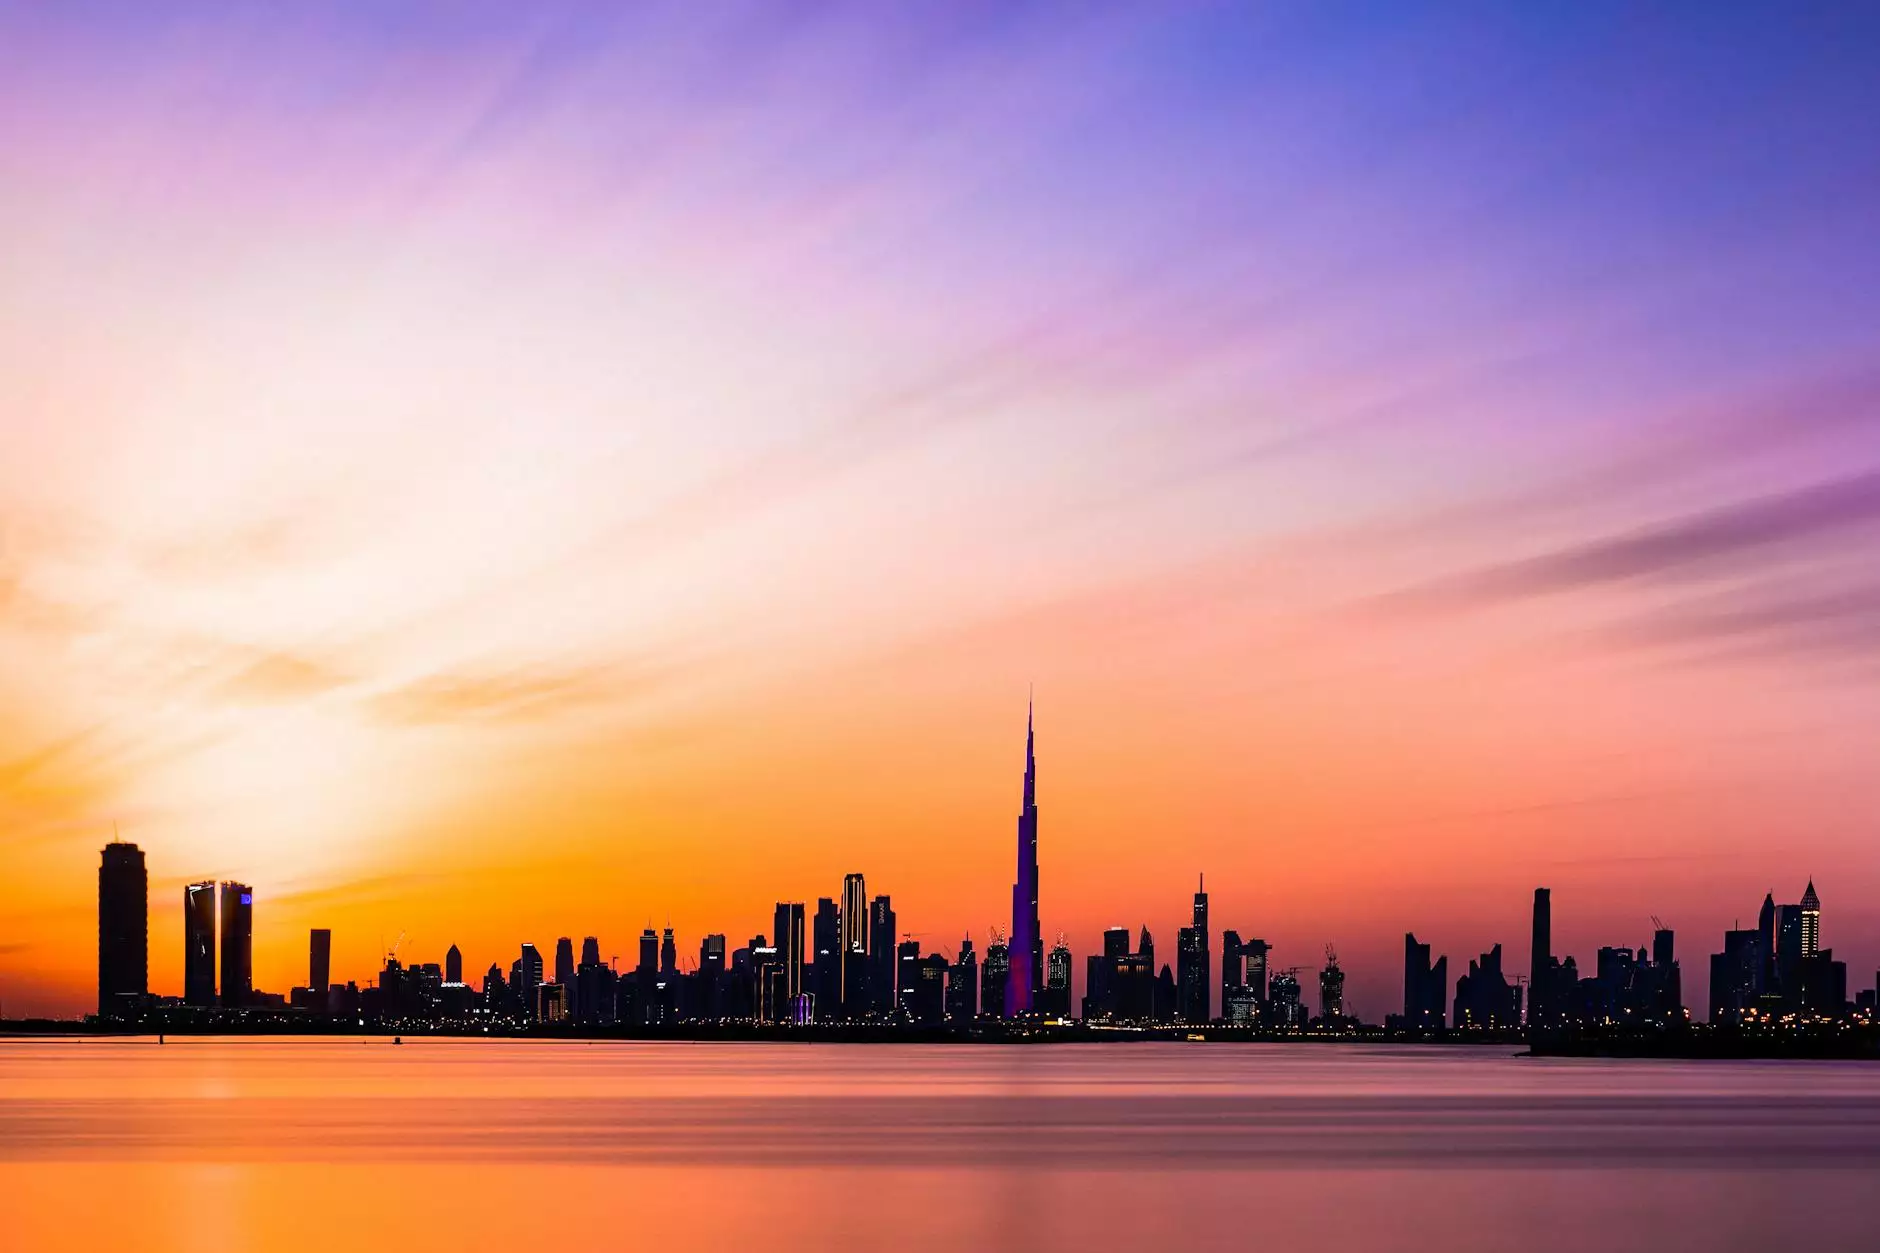
- Sunrise and Sunset
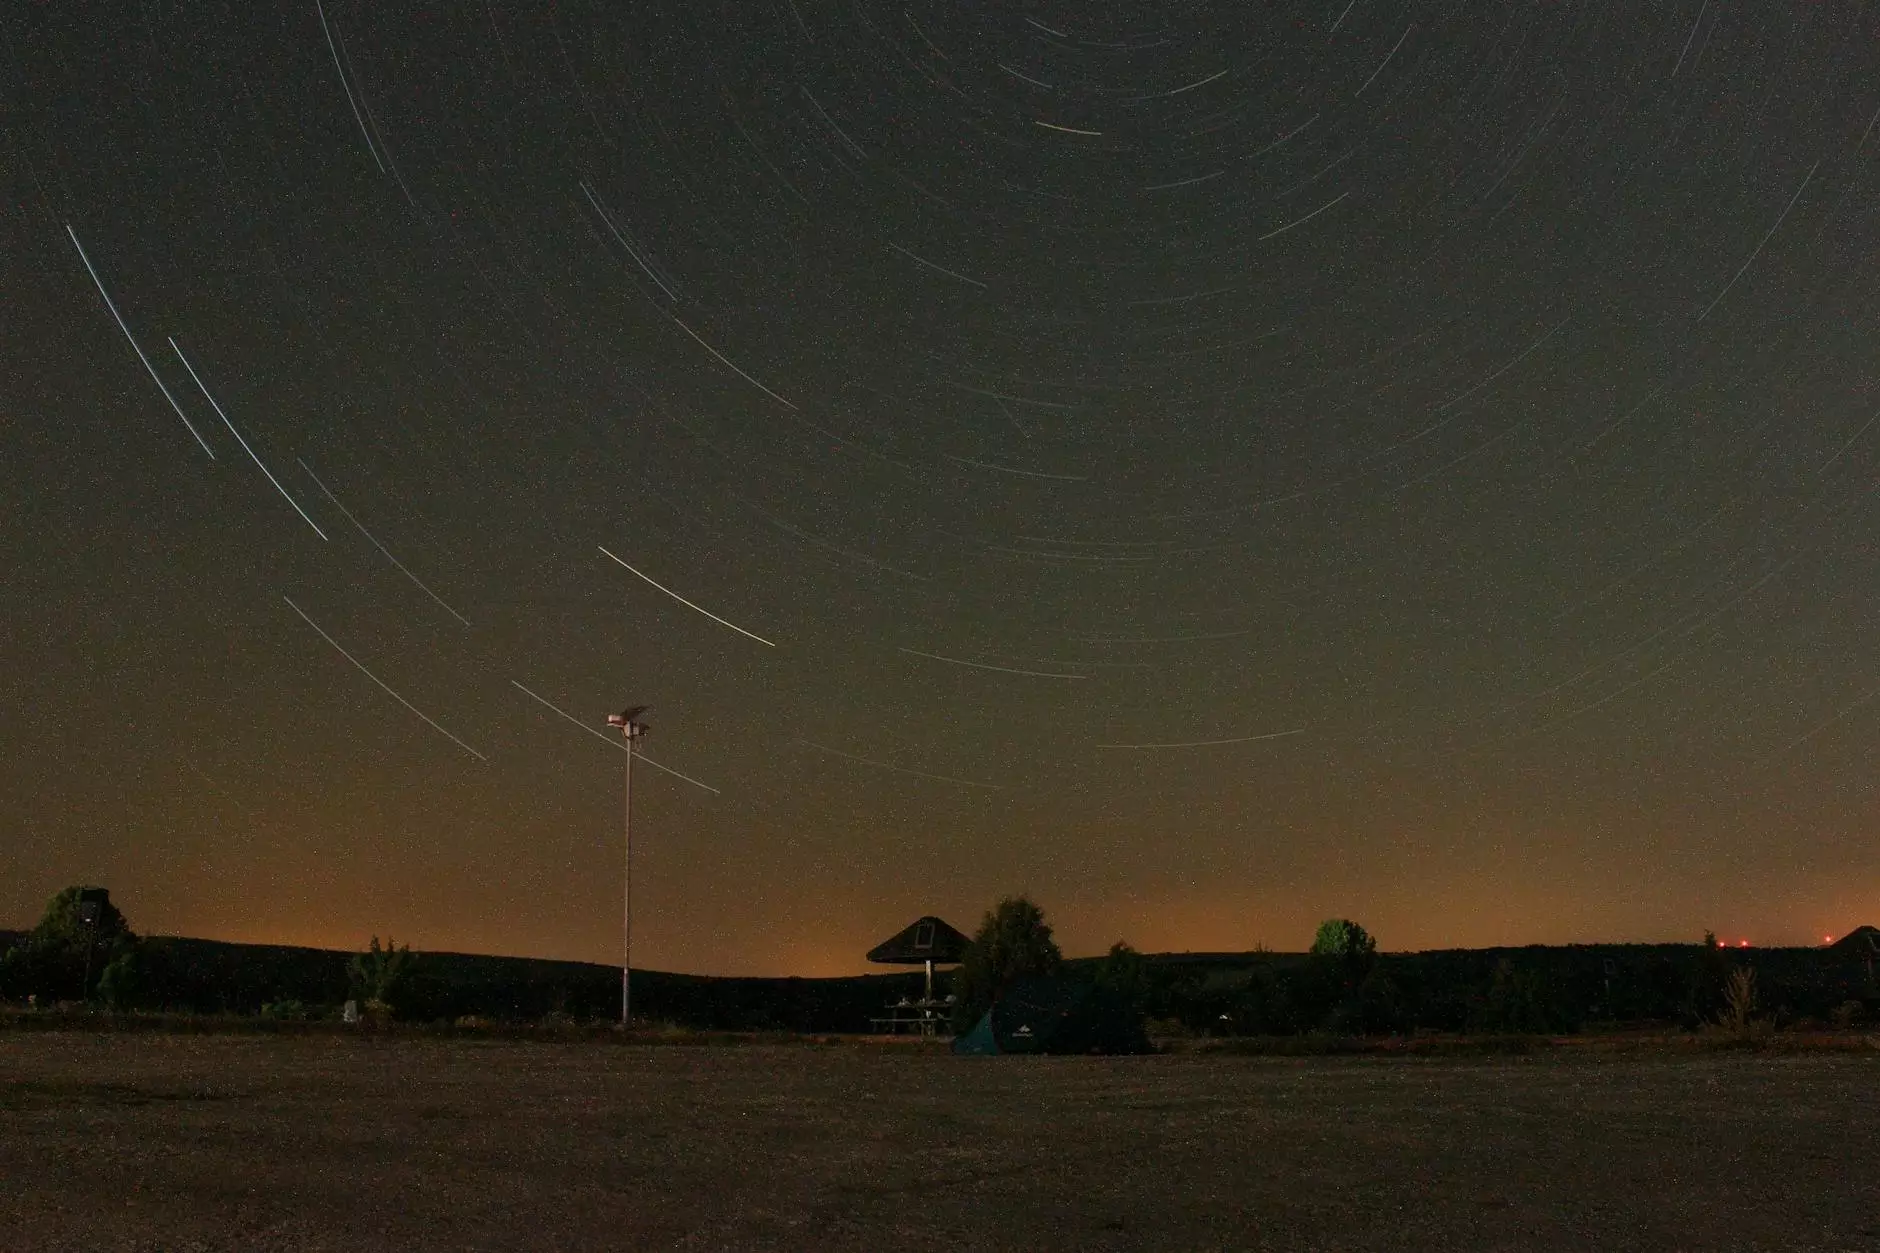
- Cloud Movements
- Urban Life (Traffic, People)
- Construction Sites
- Floral Blooms
2. Plan Your Shoot
Planning is essential in time lapse photography. Take time to scout locations, check lighting, and determine the best times for shooting. Always consider weather conditions as they can dramatically affect your footage.
3. Set Up Your Camera
Proper camera settings are critical. Here are tips:
- Manual Focus: Use manual focus to avoid autofocus issues during the shoot.
- Manual Exposure: Set your exposure manually to avoid flickering caused by changing lighting conditions.
- Low ISO: Use a low ISO setting to reduce noise in your footage, particularly in low light scenarios.
- Shutter Speed: A rule of thumb is to use a shutter speed twice the length of your interval for smooth motion.
4. Experiment with Interval Settings
The interval at which you take photos will determine the final speed of your time lapse video. Experiment to find the right interval for your subject:
- Fast changes (e.g., people moving): Every 1-2 seconds
- Slow changes (e.g., flowers blooming): Every 15-30 seconds
5. Review Your Footage
After shooting, always review your footage. Look for any inconsistencies or errors that might have occurred during the process. Take notes on what worked well and what could be improved for future projects.
Post-Production: Creating the Final Video
Once you have captured your time lapse footage, the next step is editing. This is where you can apply effects, adjust settings, and create a polished final product.
Editing Software
There are numerous editing software options available for creating time lapse videos:
- Adobe Premiere Pro: A professional-grade option for intricate editing and effects.
- Final Cut Pro: Great for Mac users with robust features for time lapse.
- iMovie: An accessible option for beginners on Mac that offers time lapse functionality.
- LRTimelapse: Specifically designed for time lapse photography, this software provides excellent tools for image sequence editing.
Basic Editing Steps
Follow these steps to edit your time lapse video:
- Import your images into the editing software.
- Arrange your images in sequence.
- Set the playback speed according to your desired effect.
- Add music or sound effects if needed.
- Export your final video in your desired resolution and format.
Tips for Outstanding Time Lapse Videos
Here are additional tips to enhance your time lapse videos further:
- Use ND Filters: Neutral Density filters can help manage lighting in daylight and create smoother exposure effects.
- Stabilize Your Footage: If your footage is shaky, consider using software stabilizers during editing.
- Experiment with Angles: Changing your angle can provide a fresh perspective and keep your audience engaged.
- Use Motion: If possible, introduce camera movement for a dynamic effect. This technique is often called a "hyper-lapse."
- Engage with Your Audience: Share your stories or the process behind your project in the video description to create a connection with viewers.
Conclusion
Shooting time lapse video is an exciting and rewarding endeavor that can elevate your photography and videography skills. By understanding the nuances of both the technical aspects and the creative process involved, you can produce stunning time lapse videos that captivate audiences. Whether you are a real estate photographer capturing the transformation of spaces or a nature enthusiast documenting the beauty of the environment, mastering the art of time lapse will undoubtedly add a powerful dimension to your work.
Explore the possibilities offered through bonomotion.com, where you can find specialized photography services and resources to assist you in your journey toward creating breathtaking time lapse videos.